Temenos Lifecycle Management Suite - Collection Product Guide
Repossession - Repairs
| End-User Guide > Screens > Case System Screens > Repossession - Repairs |
This screen allows users to track any repairs made on repossessed items associated to the case in context. From this screen users can view, create, edit, and delete repairs.
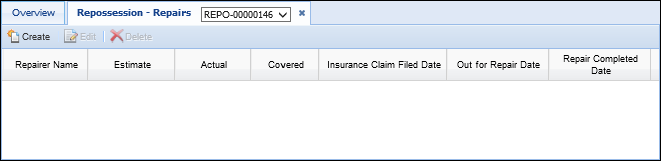
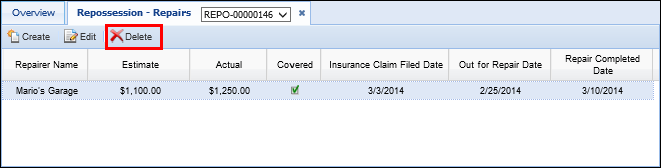
The Repossession - Repairs screen contains a grid that displays repair information in the following columns:
| Column Name | Description |
| Repairer Name | Displays the name of the company performing the repairs |
| Estimate | Displays the estimate of the repair |
| Actual | Displays the actual repair cost. |
| Covered | Displays whether the repair was covered by insurance |
| Insurance Claim Filed Date | Displays the date the insurance claim was filed for the repair. |
| Out for Repair Date | Displays the date the item was sent out for repair. |
| Repair Completed Date | Displays the date the repairs were completed. |
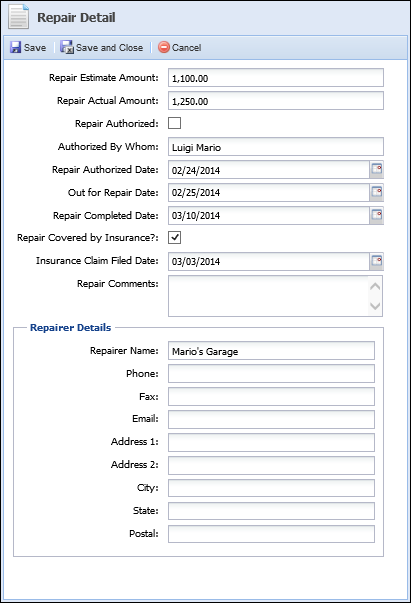
To add a repair to a case, click the Create button. A pop-up window appears that enables users to add a repair to a case.
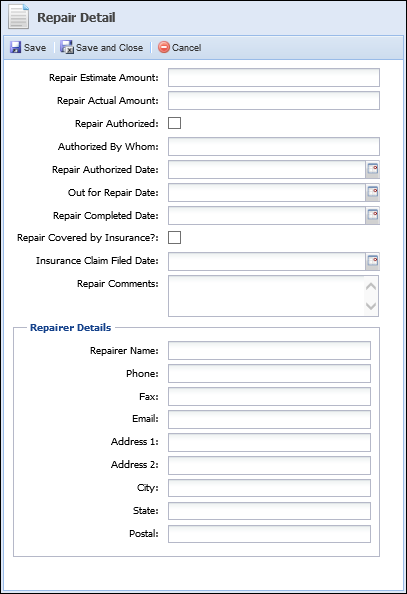
Enter the repair details and click Save or Save and Close to retain the repair information. Click Cancel to disregard the repair information.
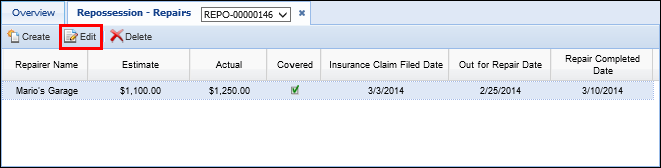
Once a repair is saved, it populates within the repossession repair grid.

Users may edit repair details by selecting the repair from the repossession repair grid and clicking the Edit button.
The existing repair details opens within a pop-up window.
Update all repair details and click Save or Save and Close to retain the repair information. Click Cancel to disregard the repair information.
The new repair details populate within the repossession repair grid.
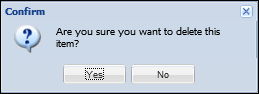
To delete a repair, select the desired repair from the repossession repair grid and click the Delete button.
When prompted, click Yes to confirm the repair deletion. Click No to retain the repair.